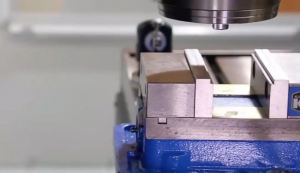
Generally, if we place the vise directly on the workbench of the machine tool, it may be crooked, which requires us to adjust the position of the vise.
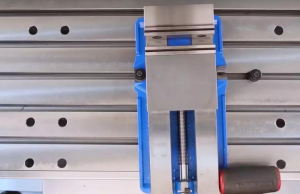
First, slightly tighten the 2 bolts/pressure plates on the left and right, then install one of them.
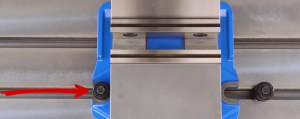
Then use the calibration meter to lean on the side where the bolt is locked, and move the Y-axis with the handwheel. After confirming that the ball head part of the calibration meter is in contact with the jaws of the vise, adjust the calibration meter’s dial so that the calibration meter pointer Points to “0″.
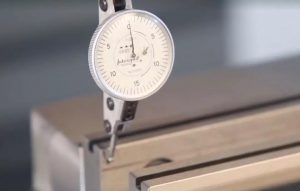
Then move the X-axis. During the movement, if the reading volume is too large and is likely to exceed the stroke of the calibration meter, you can use a rubber hammer to tap the position where the vise holds the handle while moving. If the reading is small, don’t worry, you can make adjustments when moving to the other side of the jaws.
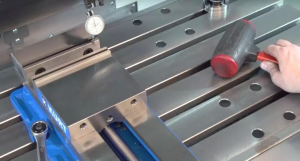
Repeat the above two steps until the calibration meter reads the same on both sides of the jaws. Finally, all bolts/pressure plates are tightened, and a final measurement is taken to confirm that the vise is still straight after tightening. This way you can process with confidence.
Post time: Nov-04-2024


